Apple Maps is Apple’s mapping app for iPhone, iPad, Apple Watch, and Mac users. It was released in September 2012 as Apple’s answer to Google Maps. Apple Maps serves a huge user base—about 500 million people worldwide as of 2024. The app comes installed on Apple devices and integrates with Siri voice search and CarPlay, making it a go-to navigation tool for millions of people every day.
For retail businesses, appearing on Apple Maps improves visibility with local shoppers. When someone with an iPhone is looking for a nearby store, they often access Apple Maps or ask Siri for suggestions nearby. Adding your retail business profile to Apple Maps means anyone using an Apple device can easily find your business’s location, get driving, walking, or public transit directions straight to your door, and see important details like your business hours and address.
Learn how to add your retail business to Apple Maps to start increasing your foot traffic.
Why add your business to Apple Maps?
Ensuring your business is on Apple Maps is an important part of local SEO (search engine optimization), which helps boost online visibility for local businesses. This location-based search connects potential customers directly to businesses that match what they’re looking for, right when they need it. When someone searches “pilates studio near me” or “hardware store downtown” on their iPhone, Apple Maps uses their location to show relevant businesses nearby.
Here are a few reasons to list your retail business on Apple Maps:
-
Boost your local SEO visibility. Adding your business to Apple Maps helps you appear in more local searches, not just on Google. The more places your store is listed (e.g., Google, Apple Maps, and Bing), the more likely local shoppers will find you, giving you broader exposure when people search for nearby retailers.
-
Leverage Siri and the Apple ecosystem. Many iPhone users rely on Siri and built-in apps to find businesses. Siri pulls its local business information from Apple Maps, so if someone asks, “Hey Siri, where’s the nearest plant store?” your shop will only be mentioned if it’s on Apple Maps. By listing your business, you also ensure you appear on other Apple services that integrate with Apple Maps (like the Maps app in CarPlay and Apple Watch).
-
Ensure accurate information and build trust. When you create your Apple Maps business listing, you can provide your up-to-date phone number, store hours, and address details. A properly listed business (with photos, descriptions, and correct hours) appears more credible and trustworthy to shoppers.
How to add your business to Apple Maps
- Navigate to Apple Business Connect
- Sign in with your Apple Account
- Add your company details
- Add a location
- Add more details
- Add your business hours
- Get verified
- Wait for verification approval
- Improve your place card
Apple has made it straightforward to add (or claim) your business listing through the Apple Business Connect portal, the platform for managing how your store information appears on Apple Maps. Follow these steps to list your retail business:
1. Navigate to Apple Business Connect
Go to the Apple Business Connect website. This is Apple’s online portal for business listings (known as your “place card”) where you can manage how your business appears on Apple Maps, Wallet, Siri, and more.
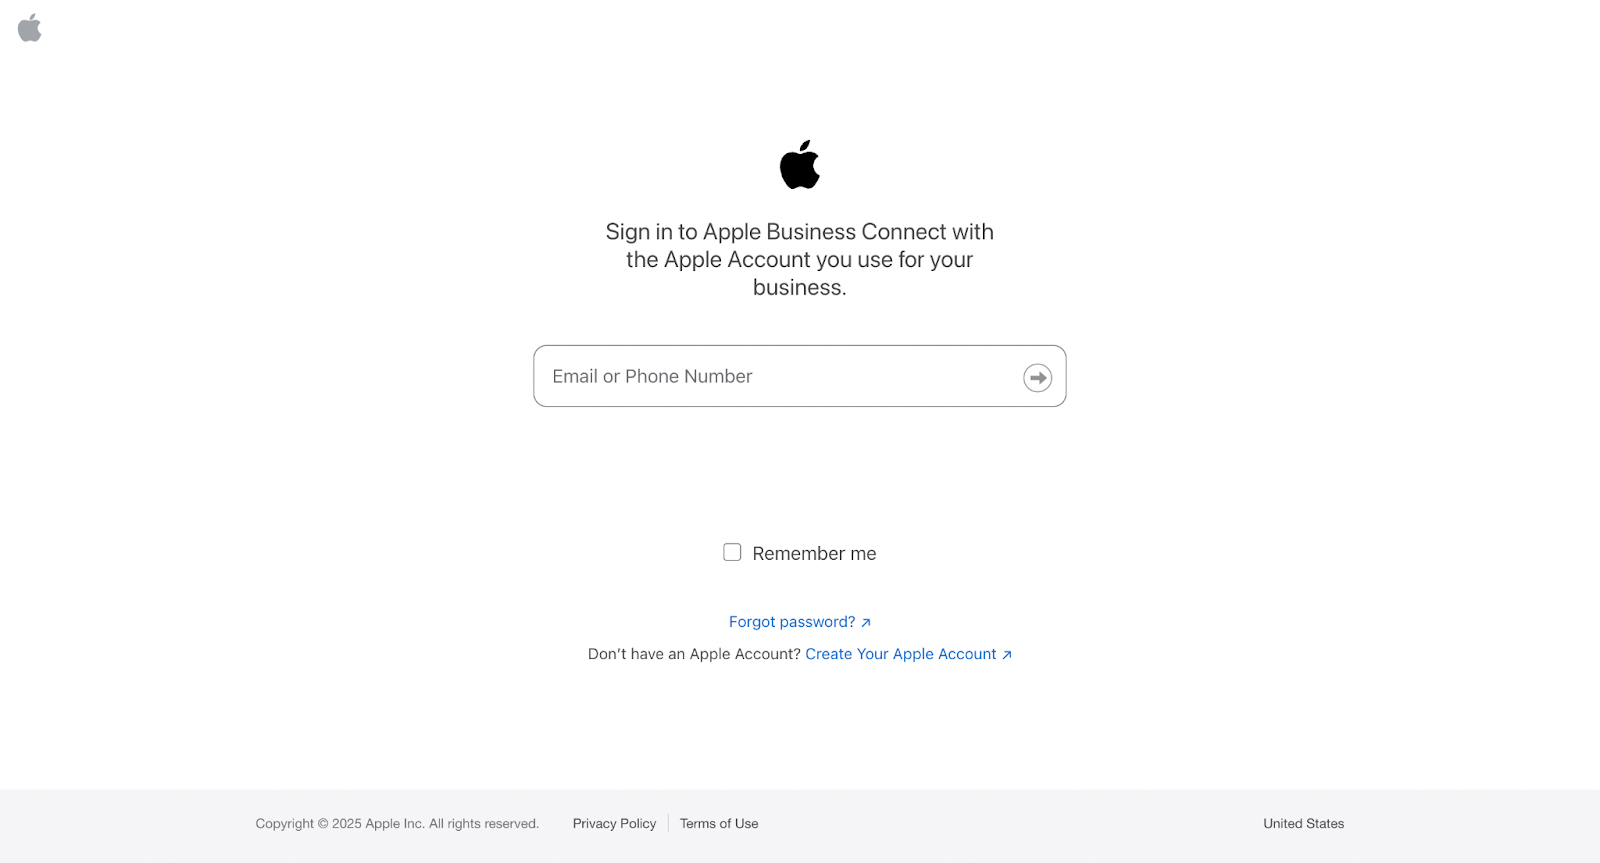
2. Sign in with your Apple Account
Log in to Apple Business Connect using the Apple Account credentials you use for your business. If you don’t have an Apple Account, you will need to create one. An Apple Account is required to access the business listing portal. Once signed in, agree to the Terms of Use.
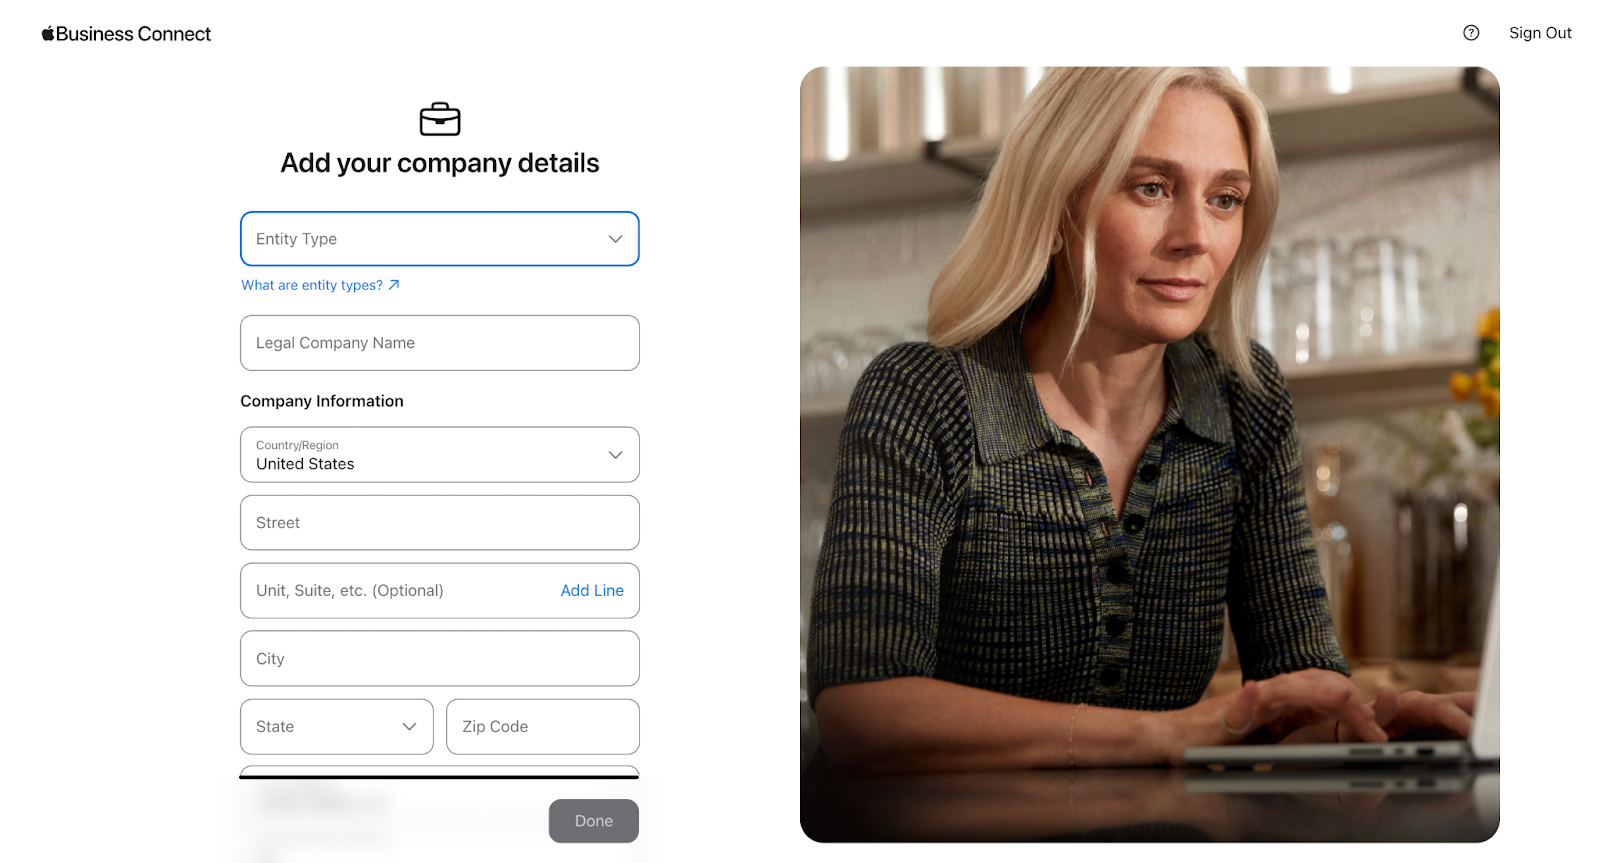
3. Add your company details
Now enter your store’s contact details and business information. This will include your entity type, legal company name, address, phone number, and website address. Double-check the spelling and accuracy of your address and contact details—consistency helps avoid confusion and can improve local search rankings.
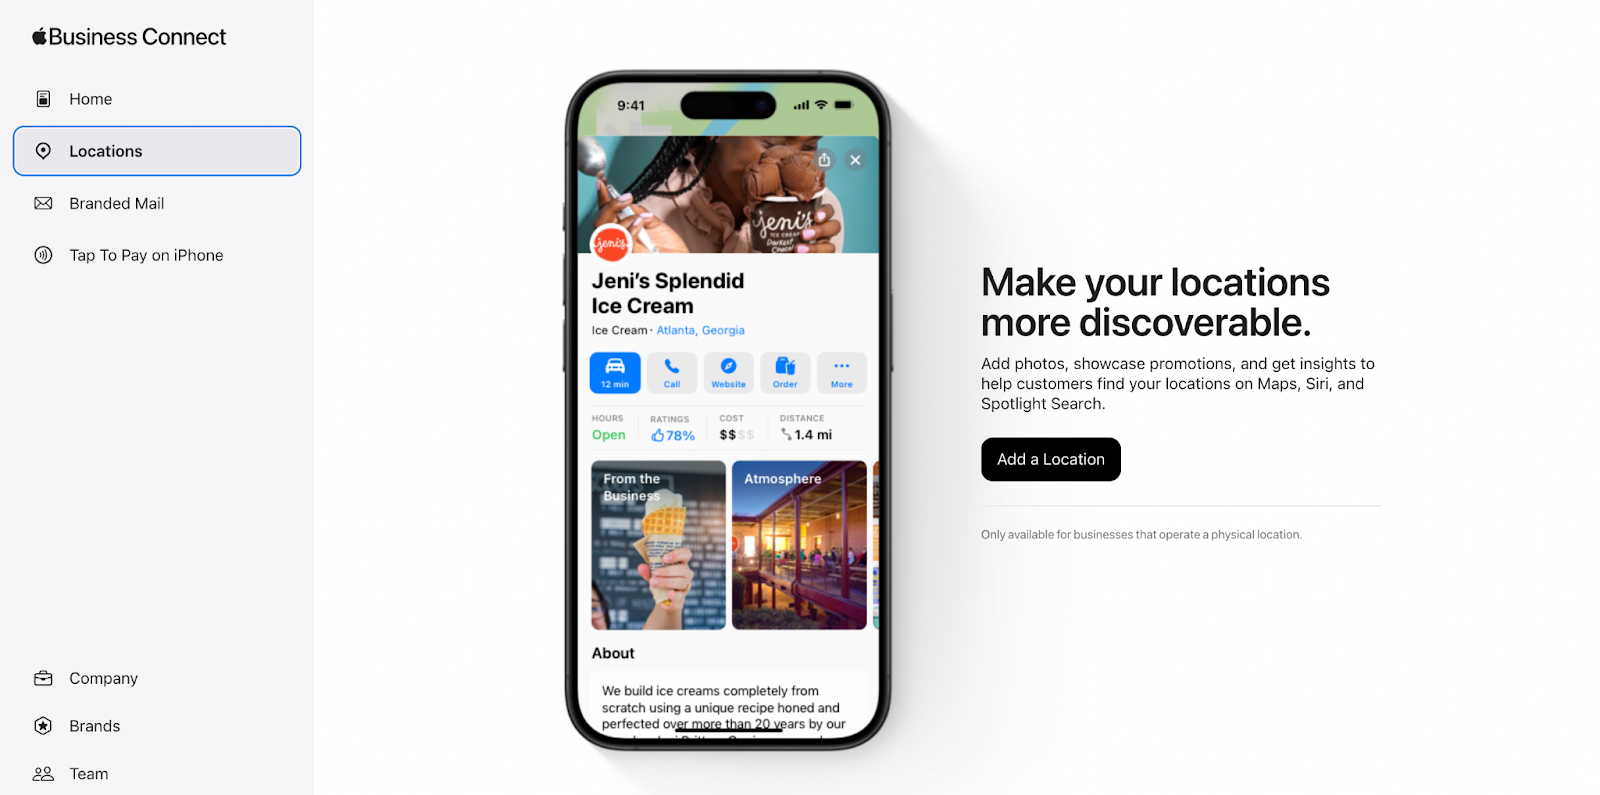
4. Add a location
In the Business Connect dashboard, start the process to add a new business listing. The system will first ask you to search for your business name to see if it already exists in Apple’s database.
If your retail shop is already listed (perhaps via third-party partner data from Yelp or other sources), you can claim it by confirming you are the business owner. If it’s not there, choose the option to add a new location.
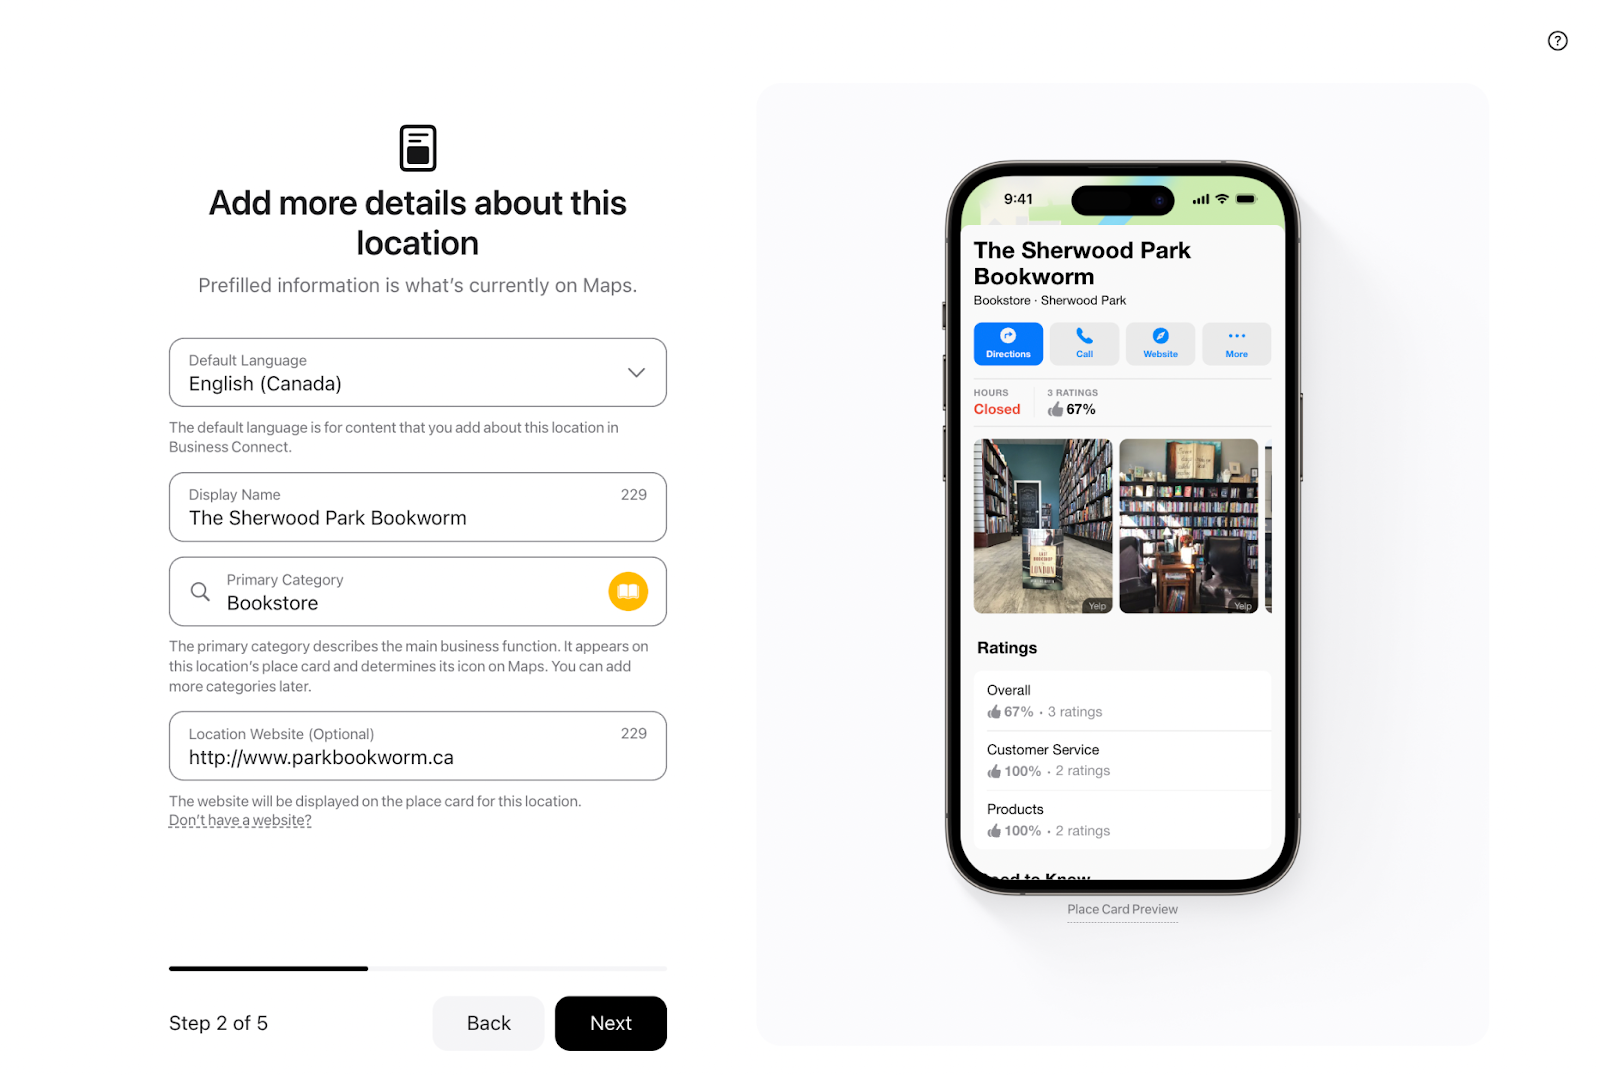
5. Add more details
If your location does not exist in Apple’s database, add more details about your business location. That includes your default language, display name, primary business category, and website.
Choose the primary category that best fits your store—for example, “Bookstore” or “Bakery.” Providing an accurate category helps Apple Maps show your business to users searching for that type of shop.
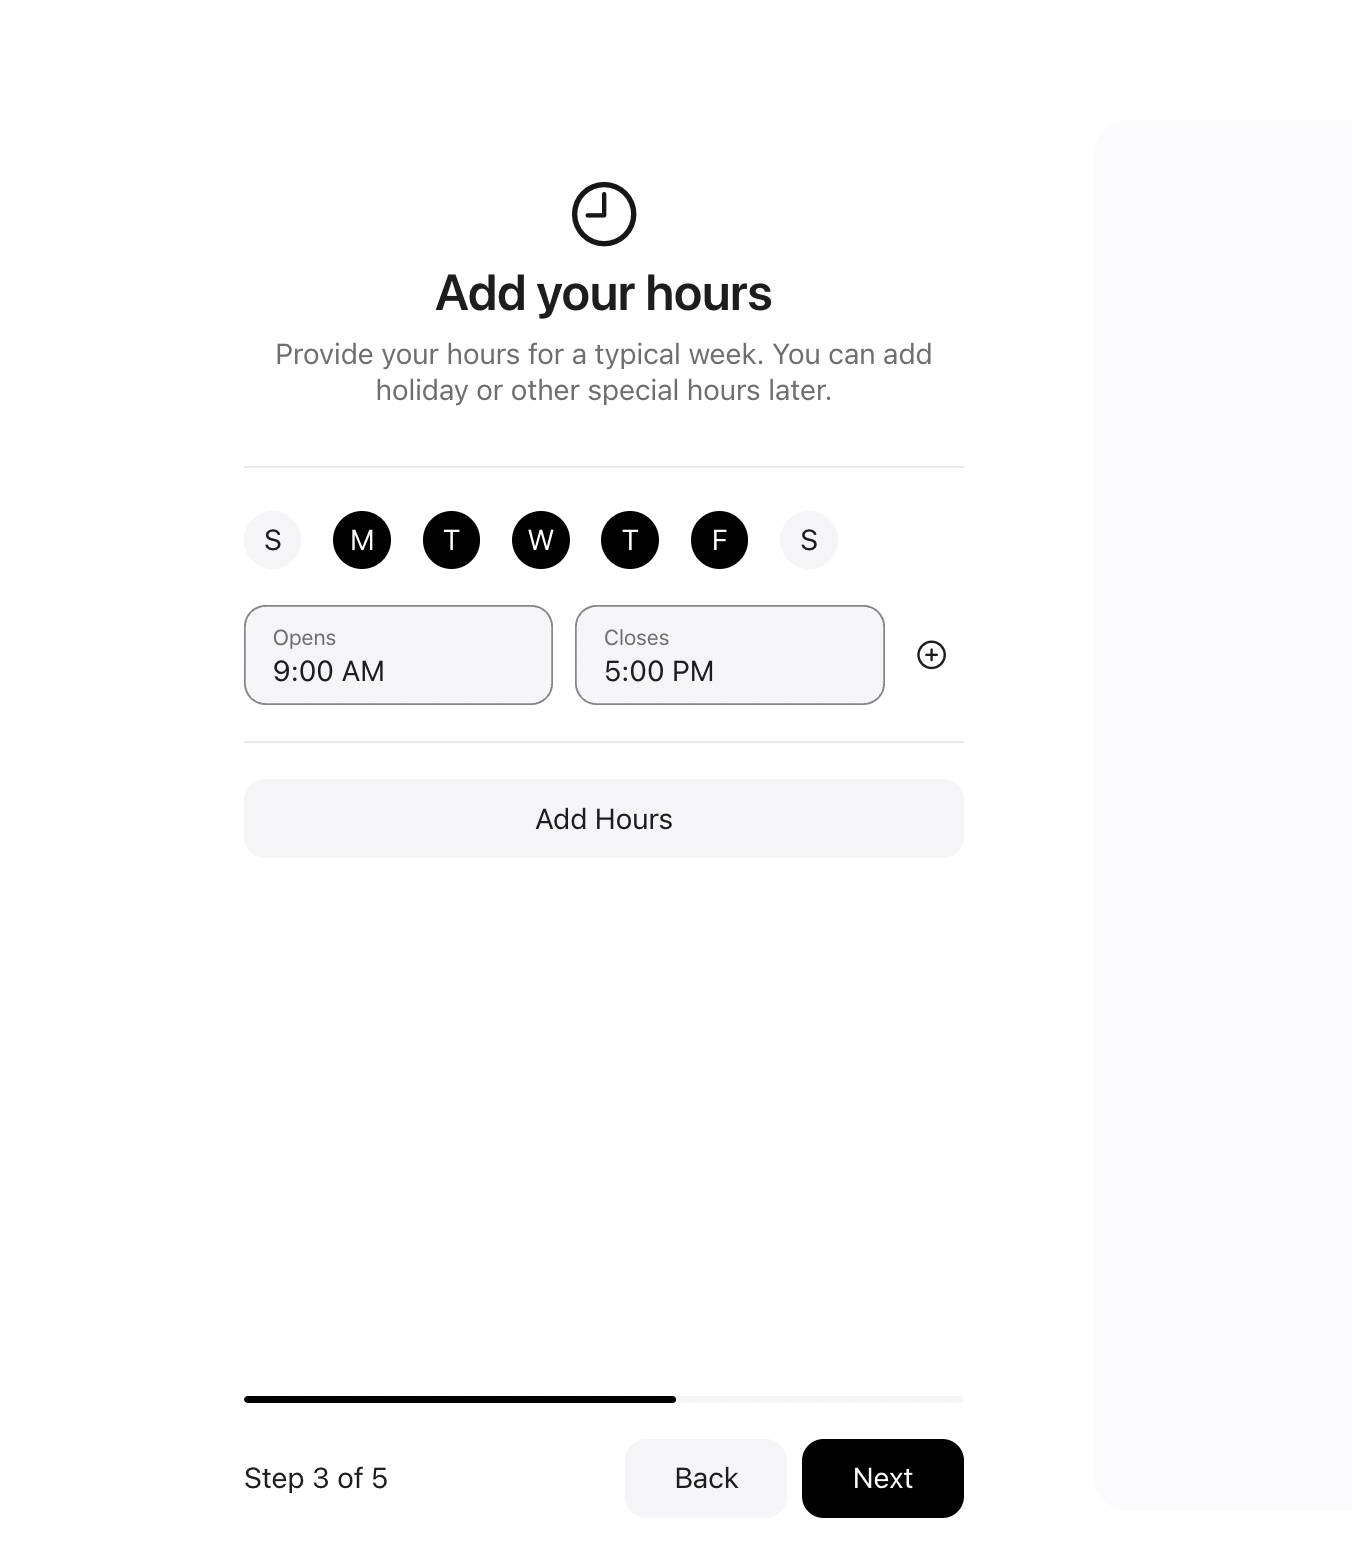
6. Add your business hours
Provide your store’s operating hours. There will be fields to input the days and times your retail location is open each week. Make sure to enter your regular opening and closing times for each day of the week.
Apple Business Connect lets you add special hours or seasonal schedules (for instance, holiday hours or special closures).
7. Get verified
Once you have filled in all the details and double-checked that everything is correct, submit your listing to Apple for verification. Apple offers two different verification processes depending on your situation:
If you’re claiming an existing business already on Apple Maps, you’ll need to verify your location. Apple will typically verify a single physical location by calling the business phone number, where you will receive a PIN to enter. For businesses with multiple locations, additional verification steps may be required.
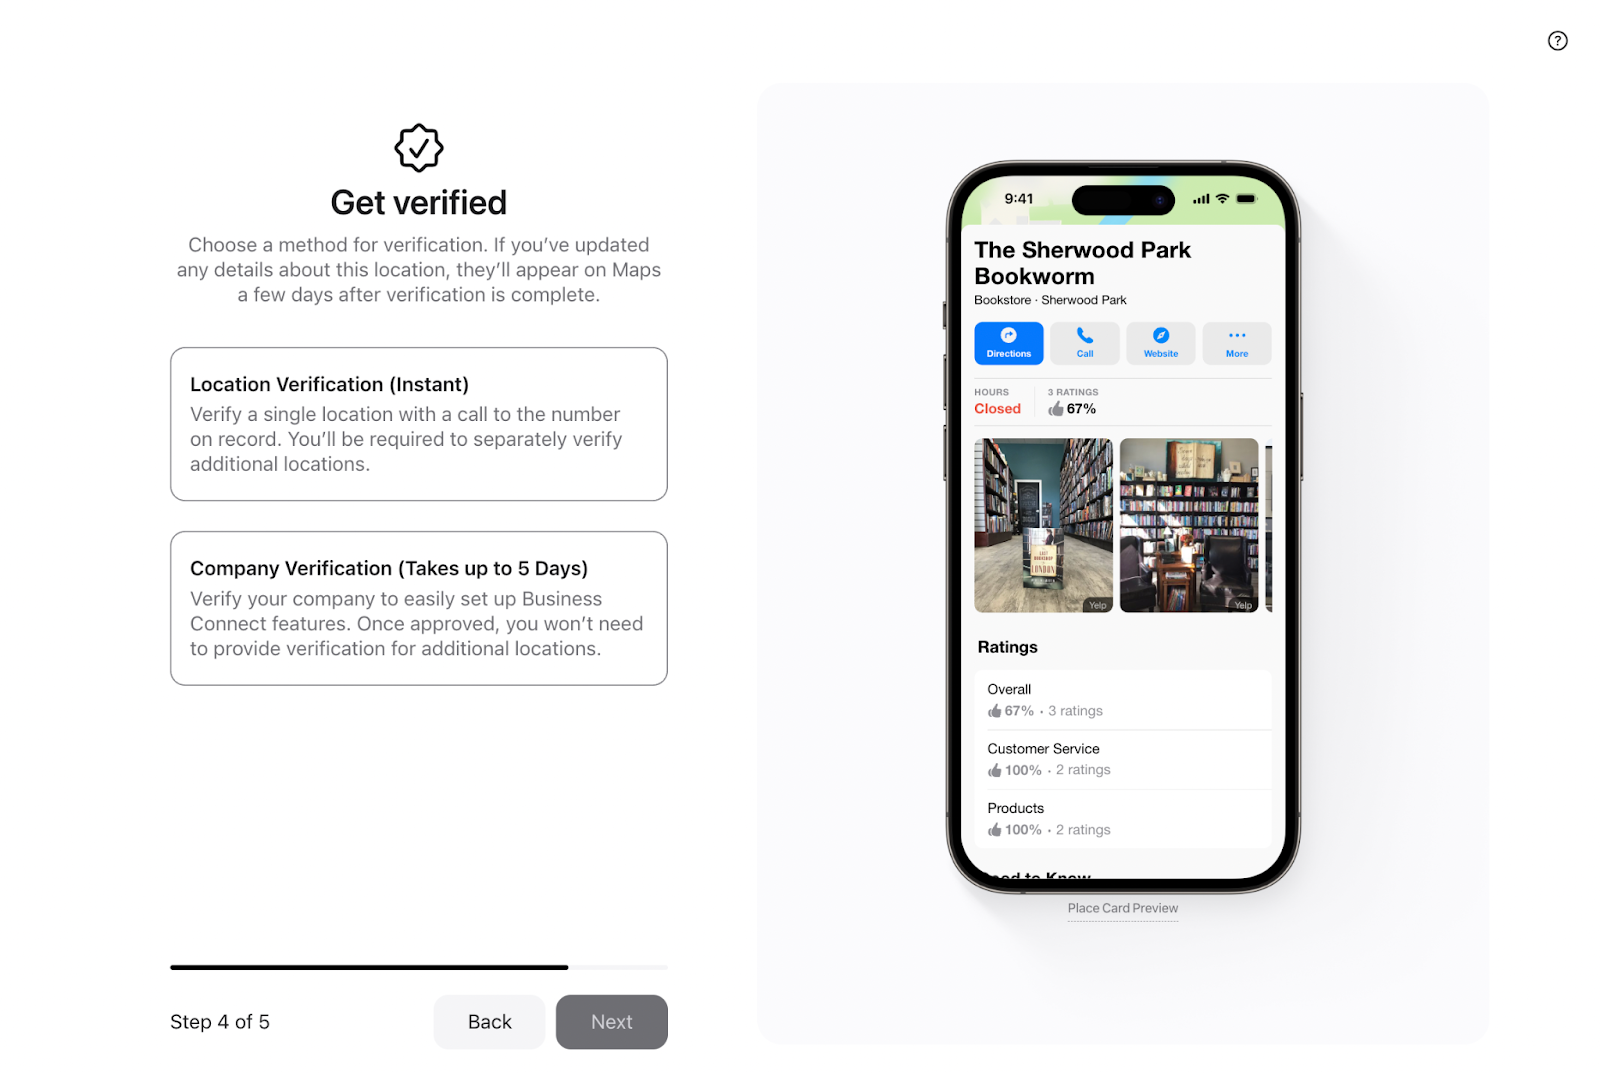
If you’re adding a new business, you will go through company verification. This is a one-time requirement in which you verify your company through either Document Review (uploading an official company document) or Domain Validation (adding a TXT record to your DNS server).
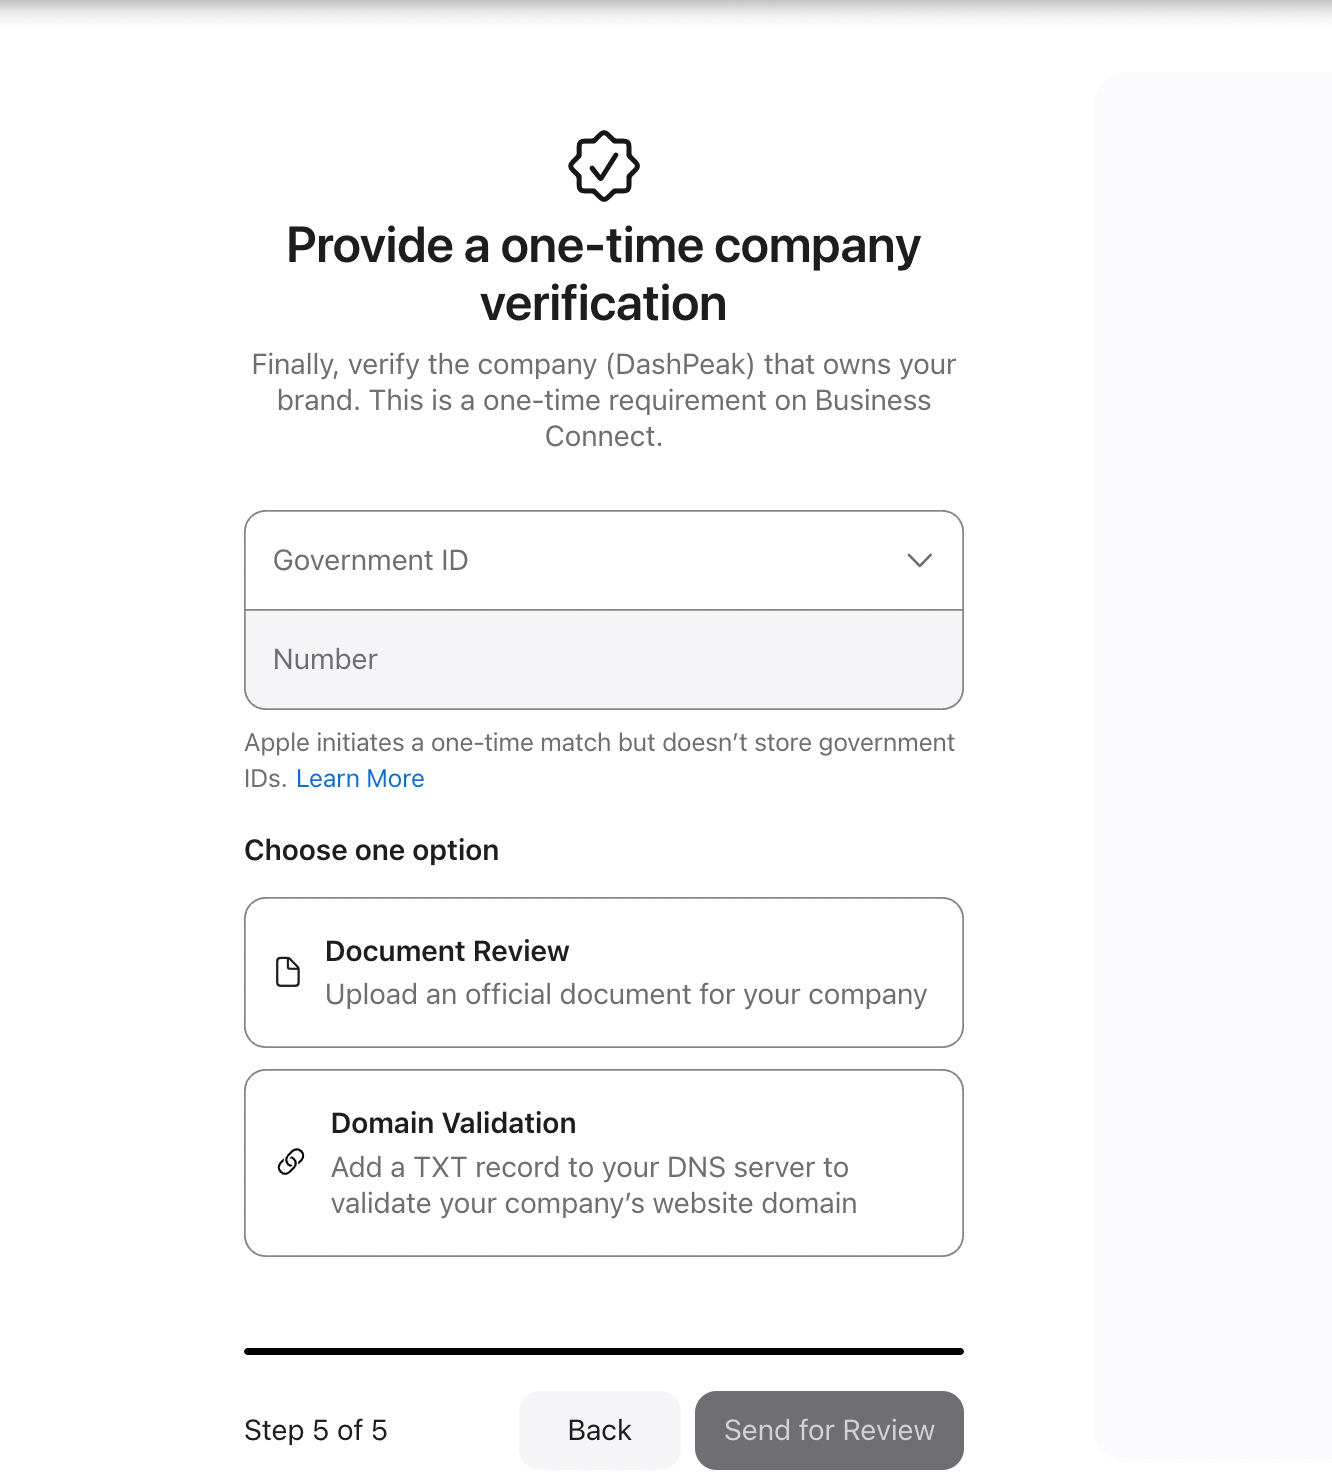
Choose the verification method that works best for your situation and follow the prompts. Completing this verification process ensures Apple knows your listing is authentic, helping local customers find your business with confidence.
8. Wait for verification approval
After you’ve submitted everything and completed any required owner verification steps, Apple will review your business listing. This review process usually doesn’t take very long—often just a few days.
Once approved, you will receive a notification (via email or on the Business Connect dashboard) that your location is now verified and live. Your retail store is now officially on Apple Maps.
9. Improve your place card
Elevate your Apple listing by adding extra details beyond your basic business information. Apple Business Connect lets you upload photos and logos, link your social media accounts, and add a short business description to your place card. Upload good-quality photos of your store—for example, a photo of your storefront or a few images of the products inside. Also, write a concise description highlighting what your business offers (“Family-run homeware store specializing in modern décor and kitchenware,” for example).
List important amenities or features (such as parking availability, wheelchair access, or payment methods accepted) in the provided fields. Adding these details makes your listing more appealing and informative, helping you stand out to Apple Maps users browsing for places to shop.
How to add a business to Apple Maps FAQ
How do I get my business to show on Apple Maps?
To get your business on Apple Maps, create a listing through Apple Business Connect (Apple’s online portal for business listings). Sign in with an Apple Account, add your business details (name, address, etc.), and submit it for Apple’s verification.
Is it free to list a business on Apple Maps?
Yes. It’s free to list your business on Apple Maps. Apple Business Connect, the tool used to manage Apple Maps listings, is a free tool and doesn’t charge any fees.
How long does it take to get a business on Apple Maps?
In most cases, it takes only a short time for your business to appear on Apple Maps after you’ve submitted the listing. Once approved, your store will be searchable on Apple Maps.


