It’s easy to start a video meeting in Microsoft Teams, but there are ways to enhance the experience for you and the other attendees, whether it’s an informal video chat with co-workers, a presentation to a client, or a department-wide quarterly update. Here’s how you can get the most out of video meetings in Teams — best practices for before, during, and after your meeting.
This story is primarily for users whose organizations have a subscription to a Microsoft 365 or Office 365 business or enterprise plan. Although Microsoft offers subscriptions tailored for home users, as well as a free version of Teams, these don’t include many of the features covered in this story. Also note that these instructions describe the Teams desktop app; some features are not available in the web or mobile versions.
Before the meeting
To schedule a video meeting in Teams, click the Calendar icon on the left toolbar. This brings up a calendar in the main window. Click the New meeting button at the upper-right corner.
A fill-out form will appear in the main window. Type in a title for your meeting.
In the Add required attendees box, type in the email addresses of the people who you want to attend your meeting — or, if your organization’s address book is integrated with Teams, you can just start typing co-workers’ names (or the names of corporate email lists) and select them from the list that appears. If you want to invite people without making them feel that they’re required to attend, click +Optional at the right end of the required attendees field and add their names in the Optional field that appears below.
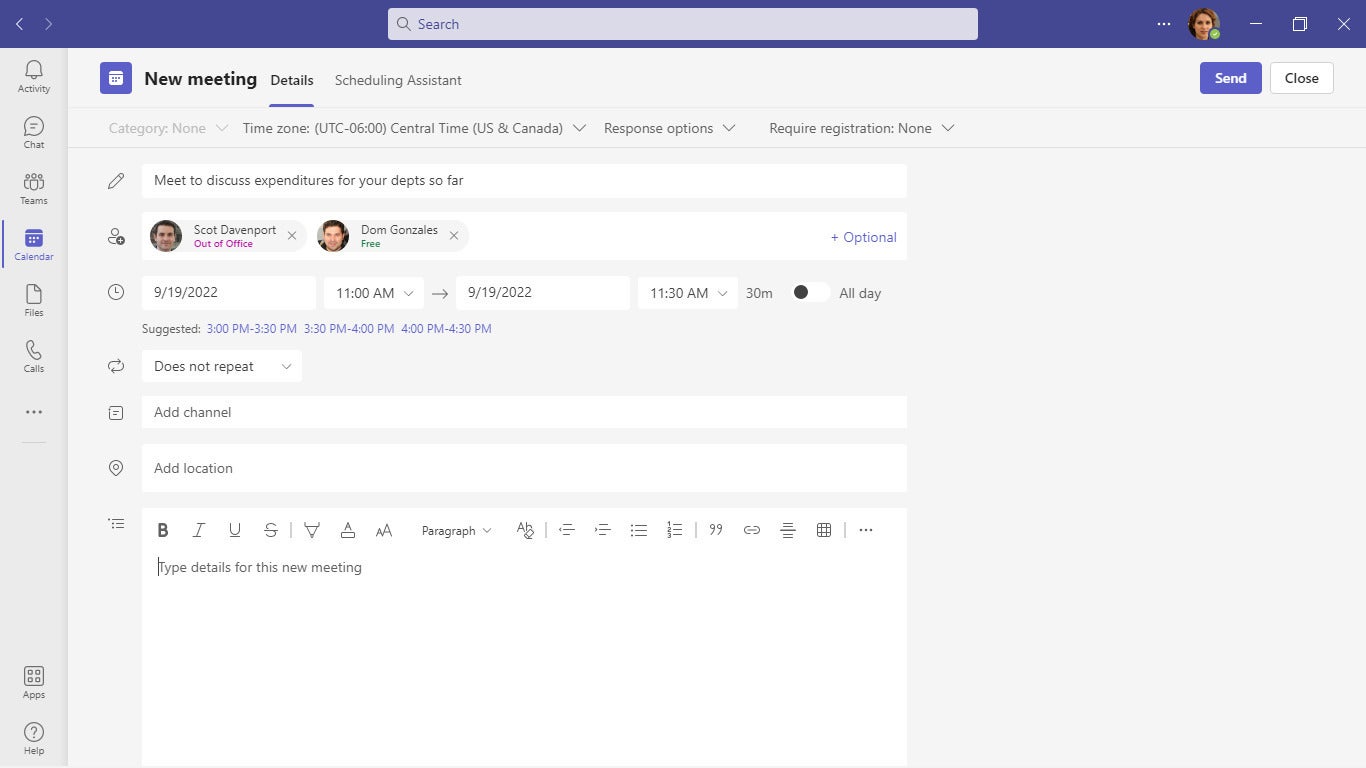 IDG
IDGScheduling a meeting in Teams is straightforward and integrates with Microsoft 365 contacts and calendaring. (Click image to enlarge it.)
Then in the fill-in boxes below, choose a date, a start time, and an end time for your video meeting. Click the Save button at the upper-right corner, and your invitation will be sent to these people with a link to join the meeting in Teams.
This covers the basics for inviting people to your video meeting and scheduling it. So now let’s go over ways to enhance your invite and prepare for your meeting.
1. Fine-tune your meeting time
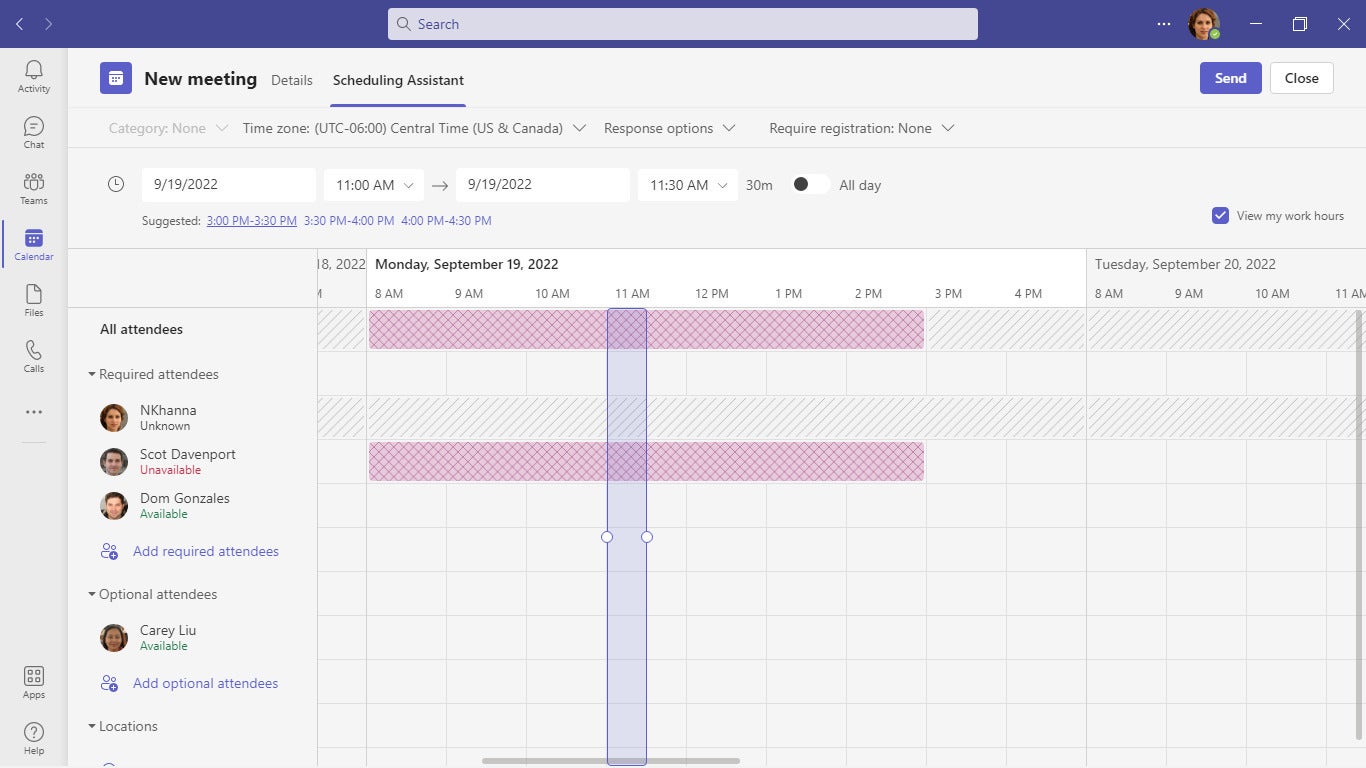
Before you click the Save button: There’s a tool you can use to find out if a particular meeting time works for all the people you want to invite. When you’re composing your invite, click Scheduling Assistant at the top of the fill-out form.
Along the left side of the panel that appears is a list of all the required and optional attendees you’re inviting. To the right is an hourly timeline for the day you picked to hold your meeting. Color coding on this timeline indicates when someone you invited will be busy or free throughout the day according to their Outlook calendars.
 IDG
IDGUse the Scheduling Assistant to make sure everyone you’ve invited is available to attend your meeting. (Click image to enlarge it.)
By referring to this timeline, you can find a date and time when all of your invitees will be able to attend your video meeting. Click on the column for a period of time to change your meeting’s start and end times. You can also scroll ahead through the days in the timeline to see if another day has fewer scheduling conflicts for the people you’re inviting.
If at least one of your invitees is unavailable for a meeting time you’ve selected, Teams will automatically suggest alternate times, if any are available. These appear below the start and end times that you set for your meeting. Click one of the suggested times to replace the start and end times that you originally chose.
2. Share your meeting’s agenda
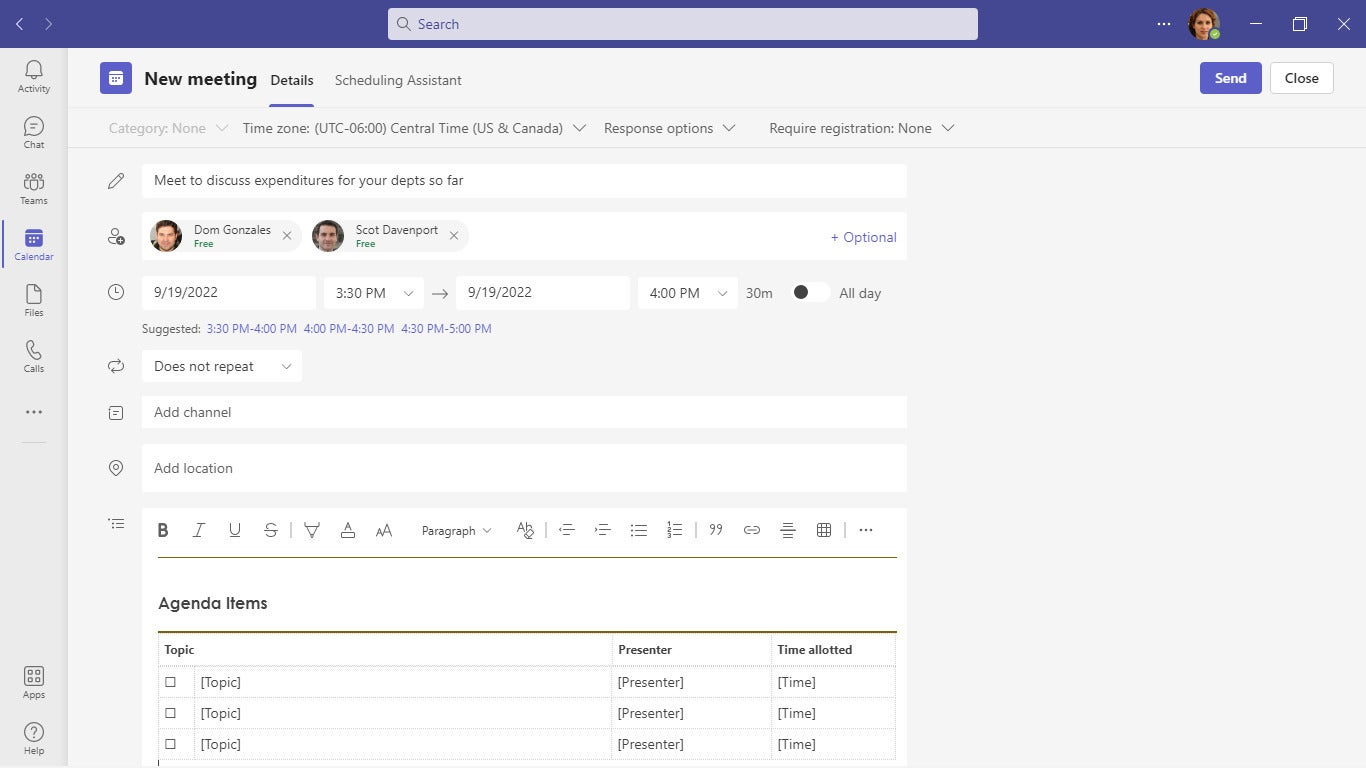
When you’re scheduling your meeting, it can be helpful to include your meeting agenda so invitees know what will be discussed and can prepare appropriately.
At the bottom of the fill-out form for a new meeting, you can add a message to include in the meeting invite. This is a good place to include a brief meeting agenda (especially in an easy-to-read format, such as a table or a bulleted list). We suggest that you don’t make the agenda too long, since that might make it hard for recipients to find the link to join the meeting in the invitation email.
 IDG
IDGProviding a brief meeting agenda helps invitees prepare for the meeting. (Click image to enlarge it.)
If you need to provide a more detailed agenda, you can send a separate email with a document (such as a .docx or PDF file) attached. Or consider hosting your meeting in a Teams channel as described below. There you can post a reply to the message that announces your meeting with the agenda attached.
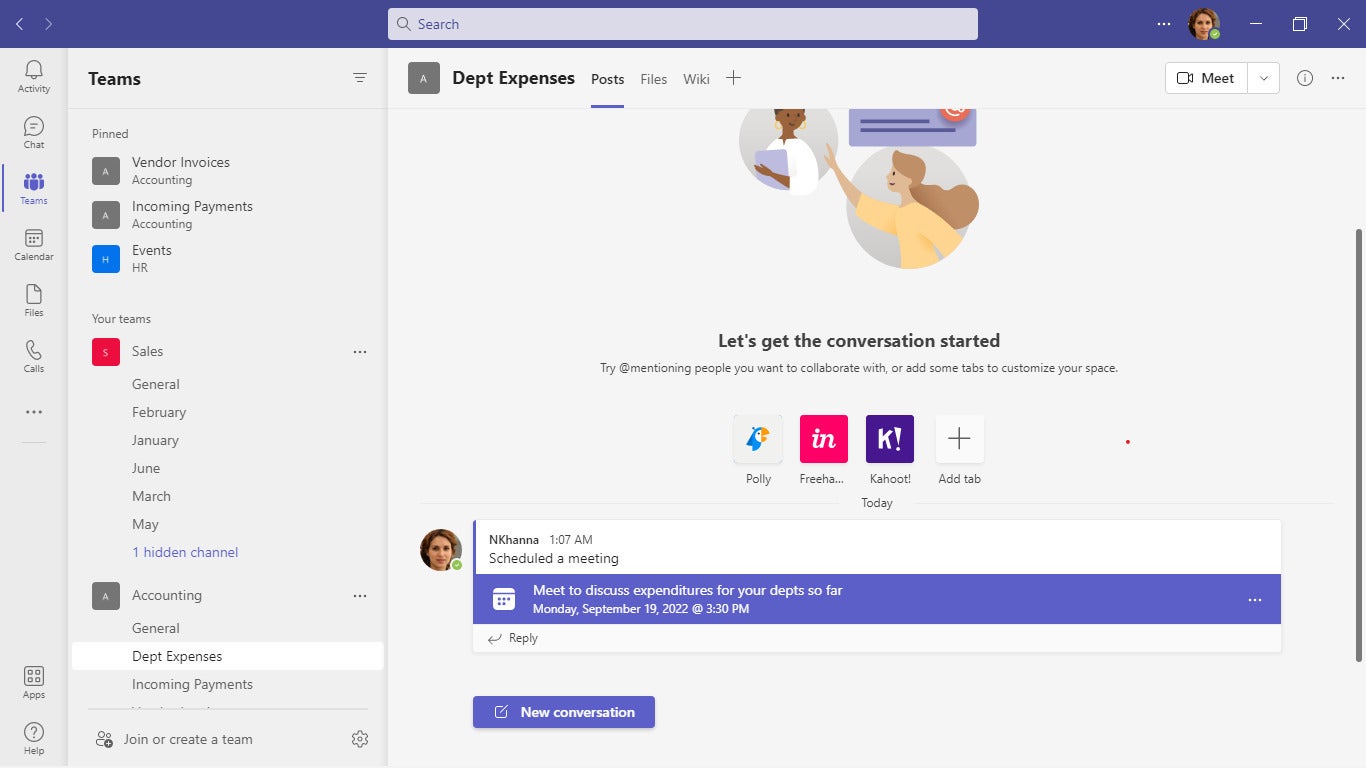
3. Host your meeting in a team channel
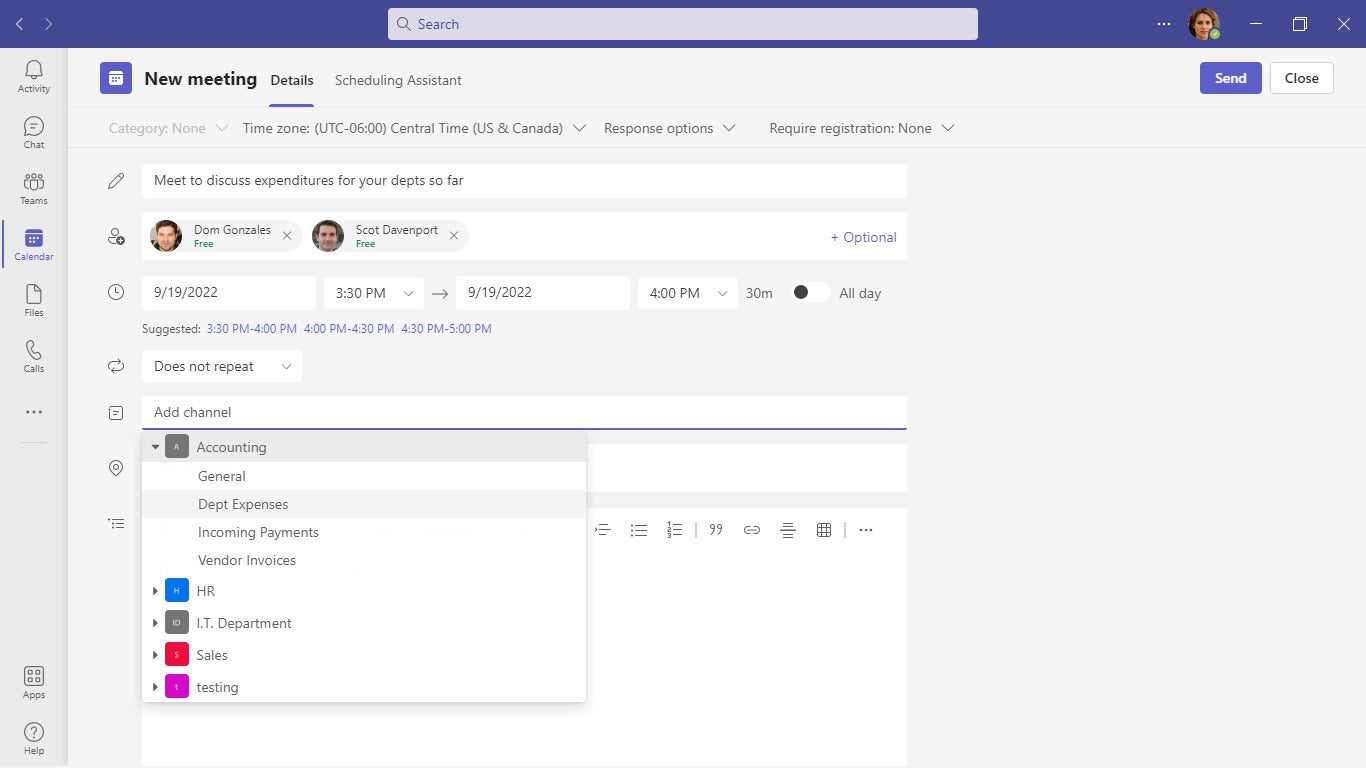
In most cases you’ll probably want to invite specific people to your meeting. But you can set up an “open” meeting that’s announced in a team channel. This can be handy if, for instance, you’ve created a channel in Teams for a specific project and you want everybody working on this project to attend the meeting.
As you’re going through the fill-out form for scheduling your meeting, click inside the Add channel box, and from the drop-down menu that appears, select a team and a channel within that team. You don’t need to add members of this channel as individual attendees, but you can optionally invite additional attendees who aren’t members of the channel.
 IDG
IDGHosting a meeting in a channel lets any member of the channel join the meeting. (Click image to enlarge it.)
Another way to do this: Go to the team channel where you want to announce this meeting. At the upper-right corner, click the down arrow next to the Meet button. From the menu that opens, select Schedule a meeting. The fill-out form for a new meeting will appear in the main window with the Add channel box already filled in with the name of the channel that you’re in.
When you’ve finished filling out the new meeting form, click the Send button in the upper-right corner. Your scheduled meeting will be posted to the channel’s Posts tab. Members of the channel will get a notice of your meeting announcement, and they can reply to this post with background information or requests for the meeting. You can reply and attach a detailed agenda as a document by clicking the paperclip icon.
 IDG
IDGThe meeting information appears in the channel’s Posts tab. (Click image to enlarge it.)
4. Test and configure your computer hardware
If it’s your first time leading a Teams video meeting on your current computer, do a test call to ensure that your device works correctly with Teams. You might need to grant permission to Teams to access your device’s camera, microphone, and/or speakers, and also to allow screen sharing on your device. Recent versions of macOS, for instance, require you to grant some permissions in System Preferences.
To test your device, click the Teams icon on the left toolbar. Then at the upper right, click the Meet button. On the video meeting panel that opens, click the Join now button on the lower right. The meeting window will open, and Teams should pop up a message asking for permission to access the camera, mic, and/or speakers if needed. (If you don’t get such a request but you can’t see or hear yourself, you probably need to grant these permissions anyway.)
If you plan to share your screen during the meeting, click the icon of an upward arrow inside a square in the meeting controls toolbar along the top of the screen. This will open a panel that lets you share your screen, an app window, or other content. If Teams needs permission to share your screen, it should pop up a message requesting this access.
If you’re using a Mac, the permission messages Teams pops up should take you to System Preferences > Security & Privacy > Privacy, or you can navigate there manually. On the left side of the screen, click Camera, then find the Microsoft Teams checkbox on the right and make sure it’s checked. Find Microphone, Accessibility, and Screen Recording in the list on the left and check the Microsoft Teams boxes for them as well. You’ll need to restart Teams before the changes take effect. (Marquette University offers more details and troubleshooting tips.)
 IDG
IDGIf you use a Mac, you might need to head to System Preferences to grant Teams permission to use the camera and microphone and share your screen.
Likewise, if any of your invitees are new to video meetings with Teams, request that they arrive 10 minutes early. You can start the meeting early so they can get their device working properly before the meeting’s scheduled start time.
5. Practice PowerPoint presentations with the Speaker Coach
This is actually a feature in PowerPoint, but it’s great preparation for presenting during a Teams meeting: As you practice giving your presentation by speaking aloud and clicking through the slides, Speaker Coach listens to and watches you through your PC’s camera. It gives you real-time tips (as banner notices that pop up along the top center of the screen) on how to improve your performance, such as the words you choose to say, your pace, and even your expressions and body language.
Microsoft plans to implement a version of Speaker Coach for use during Teams meetings sometime in spring 2022. But in the meantime, you can still use it as a way to practice giving a PowerPoint that you will present to others in a Teams video meeting.
To access Speaker Coach: Open your presentation in PowerPoint. On the toolbar along the top of the screen, click Slide Show and from the menu that opens select Rehearse with Coach.
 IDG
IDGSpeaker Coach listens to your PowerPoint presentations and offers suggestions for improvement. (Click image to enlarge it.)
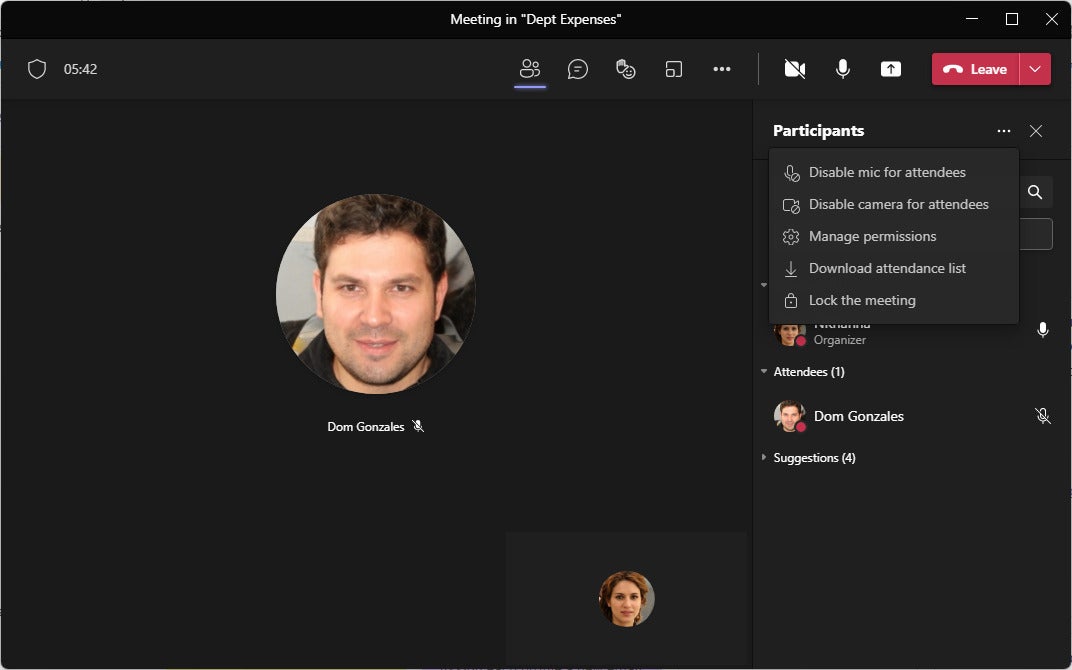
6. Optionally turn off attendees’ cameras and/or mics
If you’re conducting a video meeting with many attendees, you may want to prevent attendees from turning on their cameras and mics. This can improve call quality and minimize distractions so that you’re the only one speaking or being seen.
To turn off cameras and mics before the meeting begins, open a meeting from the calendar in the Teams app and click Meeting options. (If you don’t see it, click the three-dot icon in the toolbar and then select Meeting options.) In the “Meeting options” pane that opens, turn off the Allow mic for attendees? and Allow camera for attendees? switches and click Save.
You can also do this after you’ve joined the meeting: On the toolbar along the top of the video chat panel, click the Show participants button, which will open a panel along the right side. At the top of this Participants panel, click the three-dot icon and select Disable mic for attendees or Disable camera for attendees.
 IDG
IDGIn large meetings, disabling attendees’ mics and cameras can improve sound and video quality. (Click image to enlarge it.)
You can also prevent a specific person from turning on their camera or unmuting their mic. On the Participants panel, click the three-dot icon next to the person’s name and select Disable mic or Disable camera.


